All will be revealed - in fact now.
I took this shot to illustrate the process of shooting Impossible 10x8 film. I made two portraits last week followed by a test shot for illustration but didn't pay enough attention to the digital shots and most were not sharp. So I set up again today to repeat the process. Last week it was Punki the Penguin's chance for fame, this week it was to be a snow globe of Vienna. Unfortunately I knocked it off the box just before taking the shot and broke it

- it has not been a good day! So this miniature bottle of beer from Copenhagen took it's place (beer is just so expensive in Scandinavia!).
Here is the setup. It's in the office rather than the studio as I was too lazy to dismantle the macro setup in there. As you can see, there is a lot of extension (near maximum) to get the magnification I was after and I have used a bit of both front and rear standard tilt and front swing to get the pane of focus I was after. The bottle (and wind-up Santa is standing on a piece of shiny black acrylic - actually the screen protector of the Toyo).
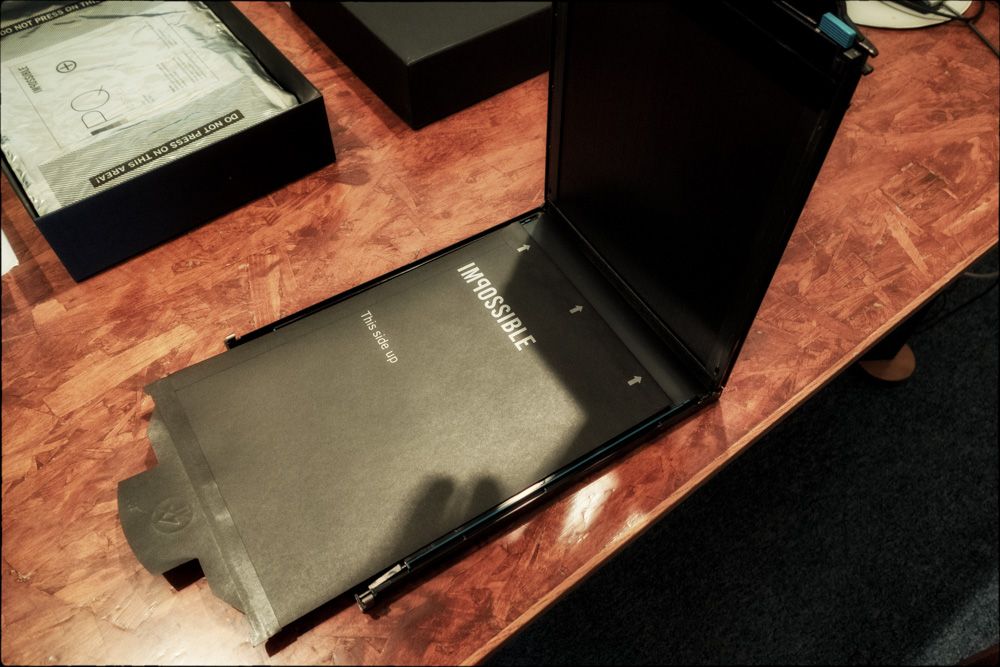
Having set up and focused etc, the holder must now be loaded with a sheet of Impossible negative film. This is held in a light-proof envelope.
This is placed into the holder and then slid through the far end such that the left hand edge is held by the tab on the holder.
The holder is then closed and the envelope pulled out of the holder leaving a sheet of negative behind the dark-slide.
The holder is then placed into the camera, the aperture is closed, shutter speed and aperture set and the dark-slide opened and the exposure is made. The dark-slide is then closed and the holder is removed from the camera.
A positive / chemical pouch must now be inserted into the holder. This is inserted on the light side of the dark-slide and the chemical pouch is hooked over the tab of the negative. The holder is then inserted (film tag first) into the processor and the button pressed. This causes the rollers to draw the film into the lightproof chamber during which the process chemistry is spread between the positive and the negative and the two layers are 'sealed' together (the image is sensitive to light at this stage and you need to wait 4 minutes before opening the unit).
The chemistry develops the negative and facilitates the transfer of the image to the positive. Because it is a transfer process, the image when viewed in its composite form is reversed (as you can see above - hence the mirror image
@Brian Moore). This composite can either be dried (using desiccant over several weeks) or the transparent positive can be separated from the opaque (and covered in transfer medium / developer) negative. The use of a hair dryer to heat the film (20-25 minutes after processing) makes this a simple process, although you need either 3 hands or you must tape the tab of the unit to a flat surface - as I did. You the end up with this (the transparent positive has been placed on a sheet of white paper, reversed).
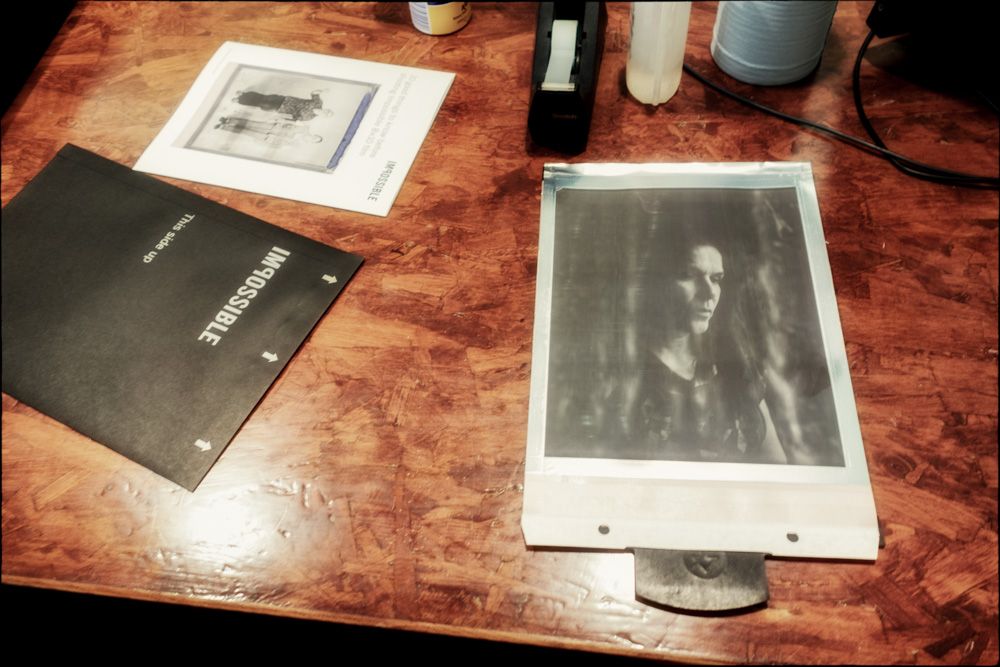
This shows an overview of the processor, film / positive, holder and print before separation.
And this is one of the portraits from last week (left as s composite - and not yet fully stable).


