Calla Lily - Creating a solarised negative

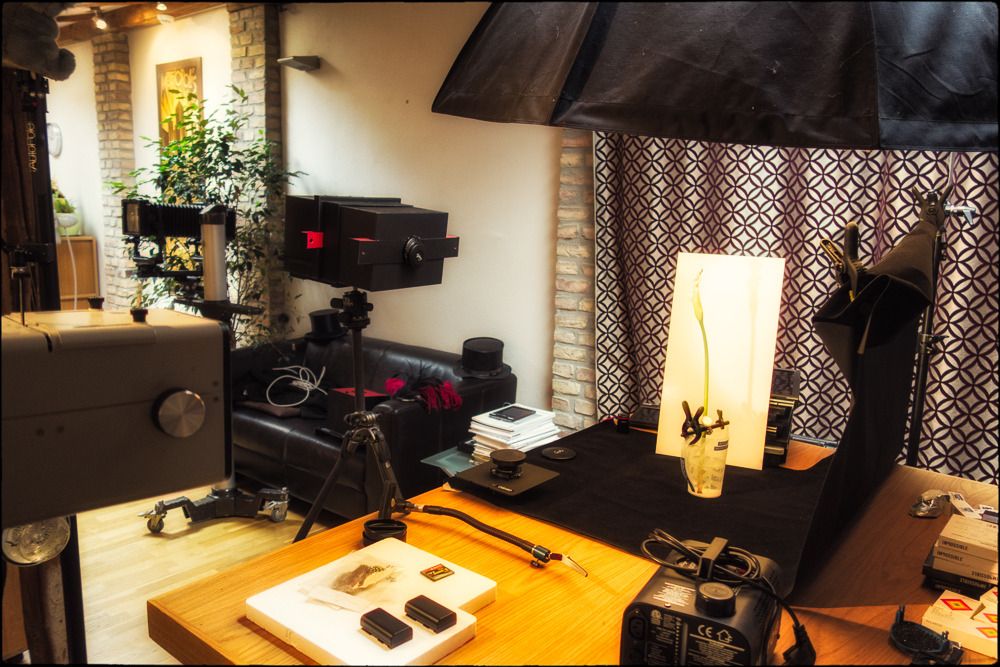
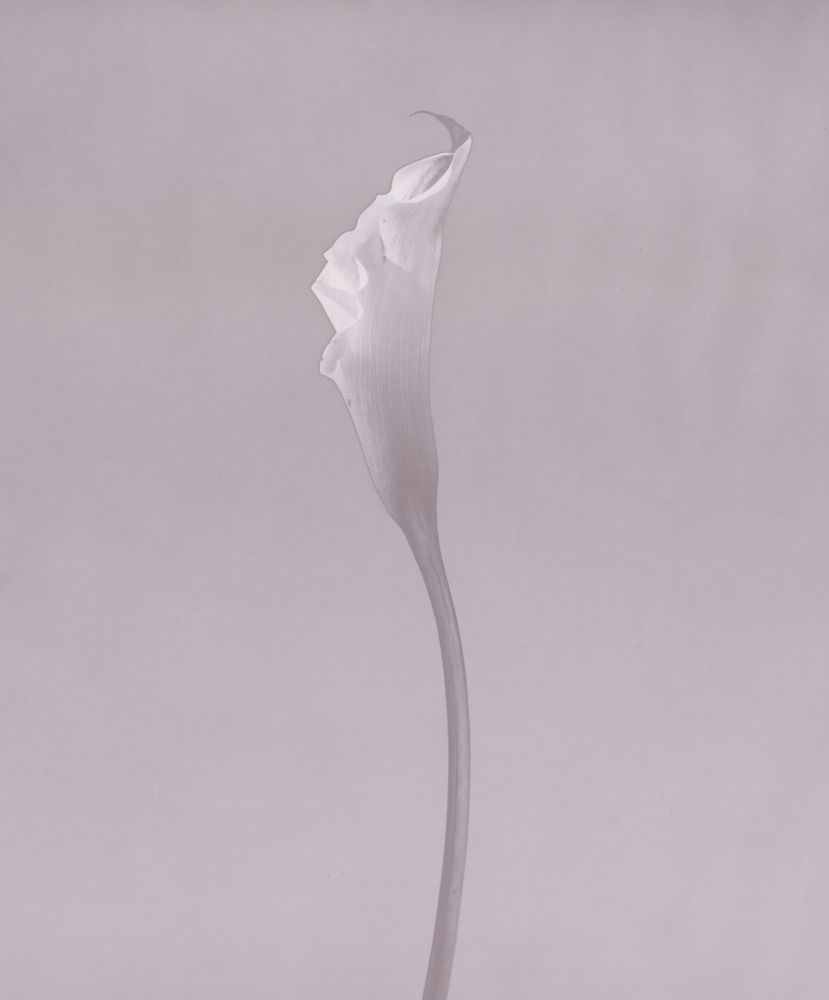
Just for interest, here is a walk-through of the process I'm using to create solarised negatives of a Cala Lily.

The images are taken using the DIY camera onto paper negatives. The advantage of this is that this gives a negative with very low sensitivity that allows it to be solarised without totally over-exposing the negative (modern sheet material is just too sensitive).

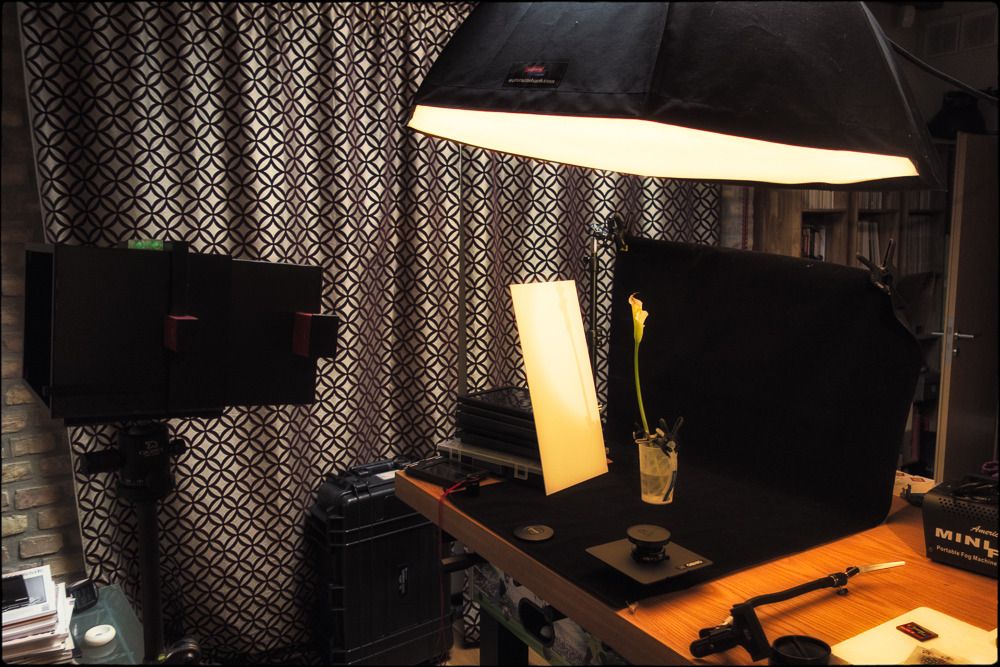
This is the setup used to take the image - two minutes at f/22.

Cala%20Solarisation-1_zpsujd8ezh0.jpg~original


Cala%20Solarisation-2_zpsmyupvd9g.jpg~original


The film was then transferred to the darkroom.

Cala%20Solarisation-5_zps0y5qdtth.jpg~original


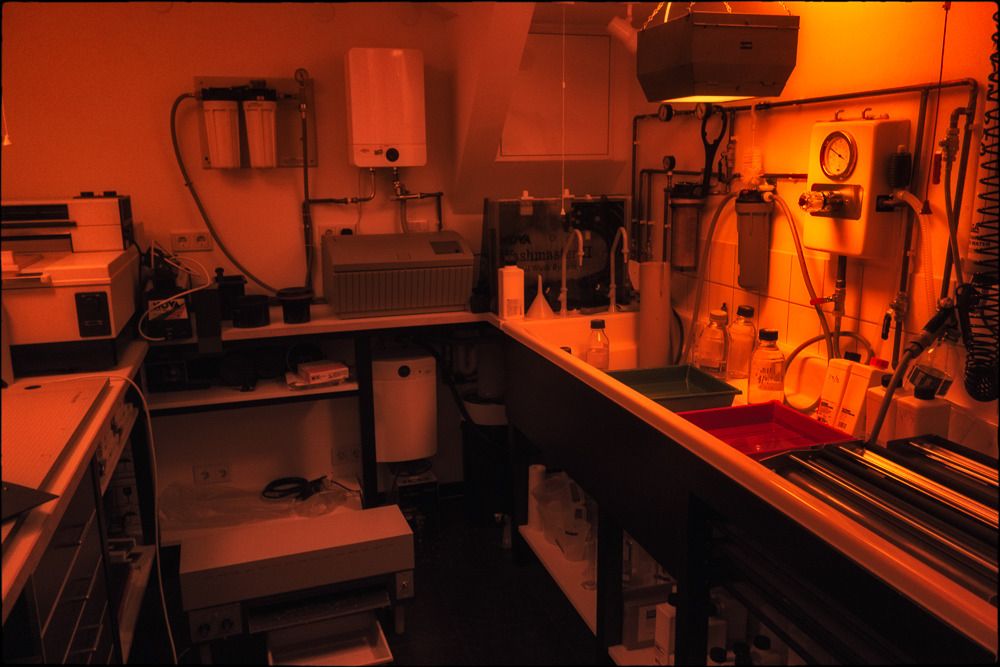
The negative was then developed in an open tray and part way (about 1/3 in this instance) through the process, a small flash was used to re-expose the whole negative in the tray.


Cala%20Solarisation-4_zpsirpahtns.jpg~original


After drying the negative was scanned.

Cala%20Solarised%20Neg%202-1_zps2siwhmal.jpg~original


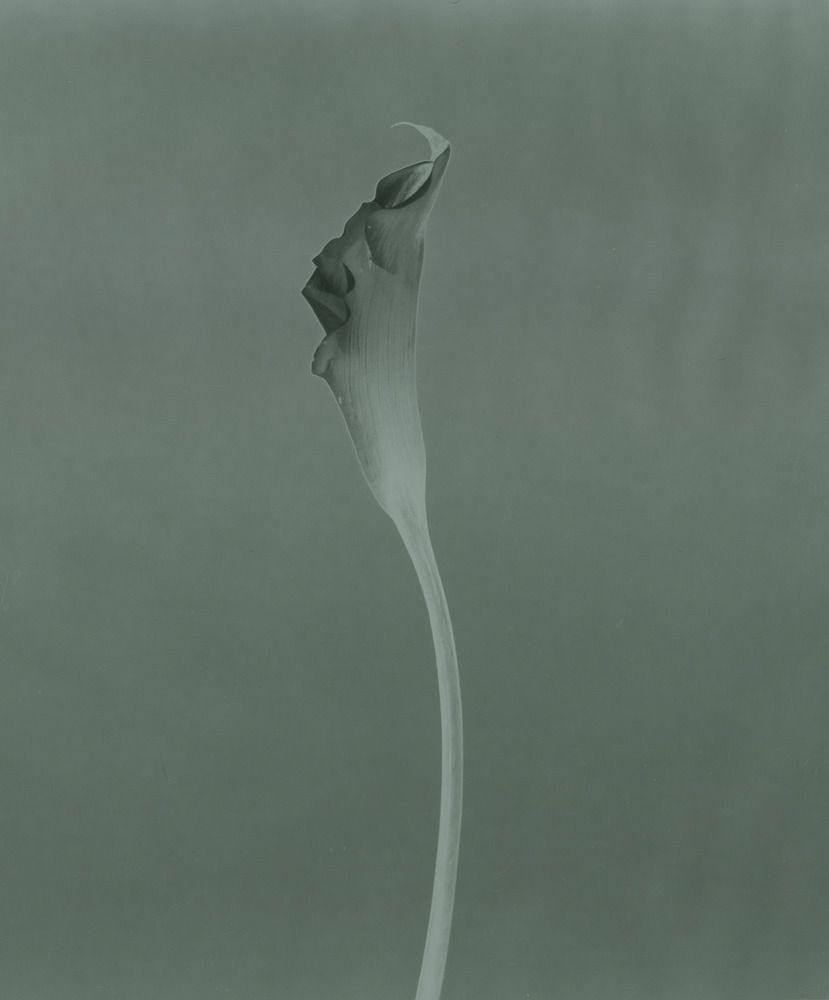
And then inverted (is PS this time).

Cala%20Positive%20from%20Solarised%20Neg%202-1_zpsd2313pqy.jpg~original
 
Last edited:
Really interesting Pete. I've often thought about this process of making images, but dont really have the set up, so not persude it. It is most likely I never will.They have a quality are very much like botanical pencil drawings, iteresting how they pick up the outer edge line, be it a negative one in the top image or the positive in the second image. The little flick of petal at the very top has a similar outcome.
 
Thanks, Julian. You get the dark line where there is a marked change in tonal density. In this case it was a white / light lily against a black background (so a large contrast). Obviously, the you expose the negative to light the areas that were previously on slightly (or in this case virtually) unexposed gain exposure. Mid tones are less affected as are highlights. The transitional areas get the 'shadowing' effect.

Actually, this would be quite possible at home using a simple safelight. You'd just need a simple camera capable of taking a large negative or maybe even creating photogram from translucent materials (flower could work well).

Thanks for the explanation Pete.It makes complete sense. Yes I could get a simple safe light. I just know what would happen though, after the safe light I'd want a simple enlarger , and a simple this and that, I dont wish to clutter the house even more and keep life as simple as possible. I have been putting a sketch pad in the camera bag and pencils, that is probably the most likely direction, going back to basics.
 
Back
Top