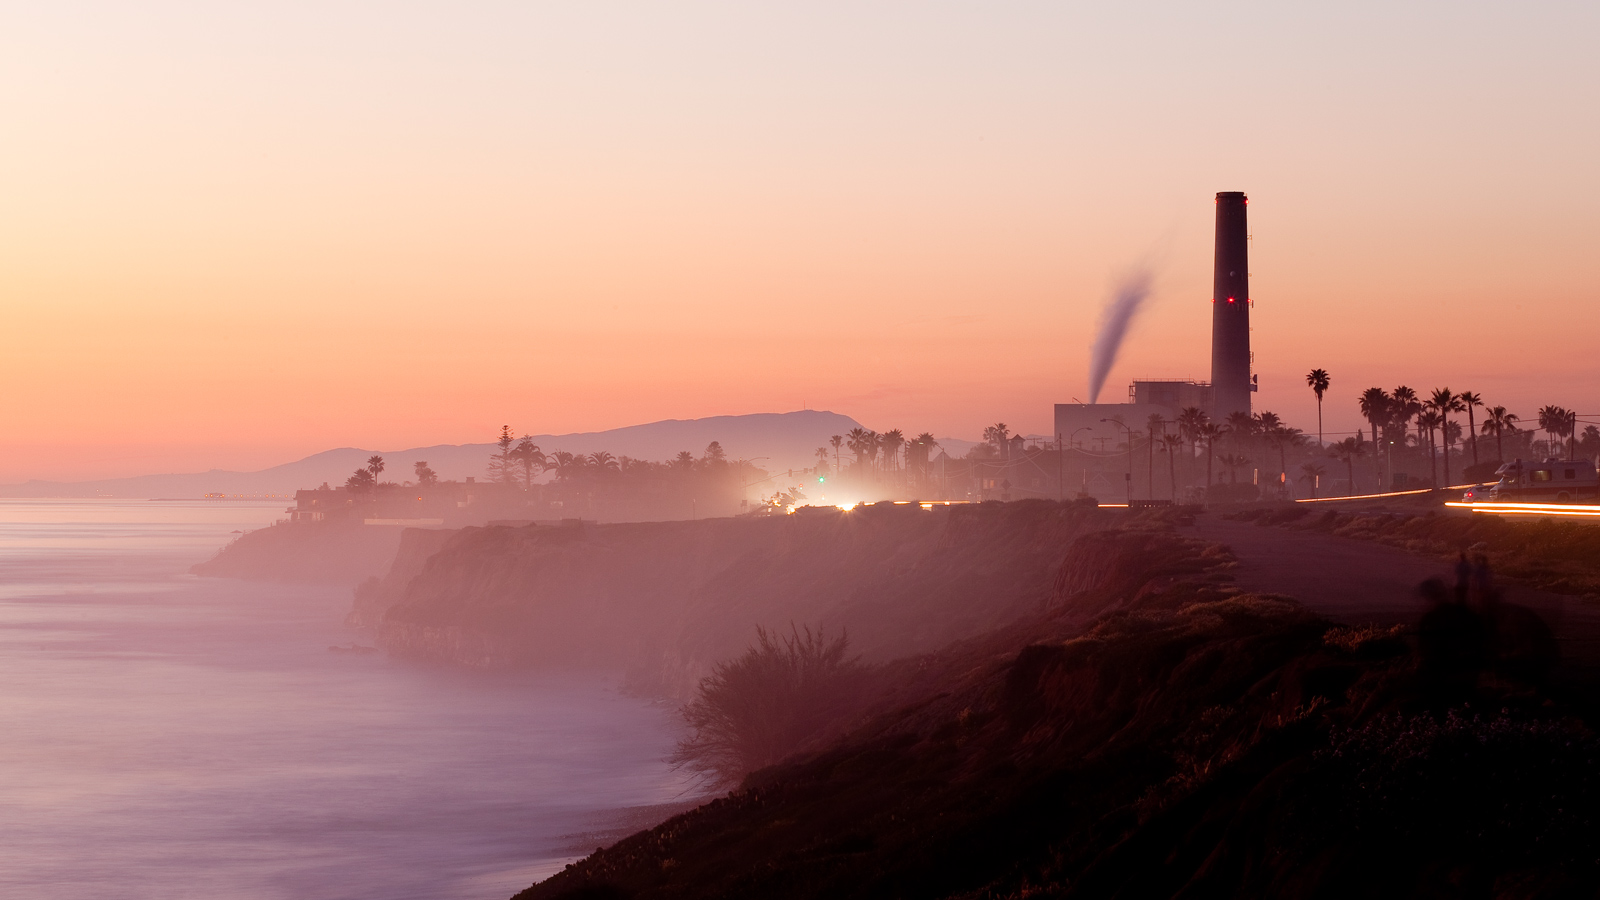
Well, it was a fun and entertaining afternoon - and now I know why I pay so much at the framing store to have matts done!
It's bloody involved!!

Started off with a presentation from Dave Schafer from InkJet Paper Plus, he described printing techniques and papers, and how to get the most out of a print from that perspective. He brought along a humungous printer to wow the crowds.
Now, I had already printed my entries using local print shops, so this was of only minor interest, but for many folks this was a key presentation. Some cool canvas and other materials.
Next up was a demo on how to mount and matt a photo - This was hosted by Jeremy Dunaway, a professional framer who runs ArtWare in San Diego.
He showed a pretty basic matt cutter $125, and ran through the basic math for calculating the cutout, and then showed how to use the cutter to do a bevel cut.
The mounting is done with acid-free artist tape, using a tape 'hinge' at the top of each photo - effectively hanging it on the backboard.
The matt is then adhered to the back board only, using a special double sided tape to hold it down.
The photo is never directly glued to the back board in this method. (Cheapo home mounting)
After seeing it done, we were able to buy kits of back board and matt, and move to work tables with all the kit and helpful staff ready to assist.
Definitely a measure twice, cut once type project -but other than that, pretty straightforward with the tools at hand.
Not sure I'd justify $125 on a cutter, unless I was doing a wall load of prints to sell/give away.
But I'm happy with the results - I'll snap a better (non iPhone) shot of them mounted, and post a little later.


