SEE NO EVIL (part 2)

Thomas brookes

RPF Chief iPhone app Reviewer
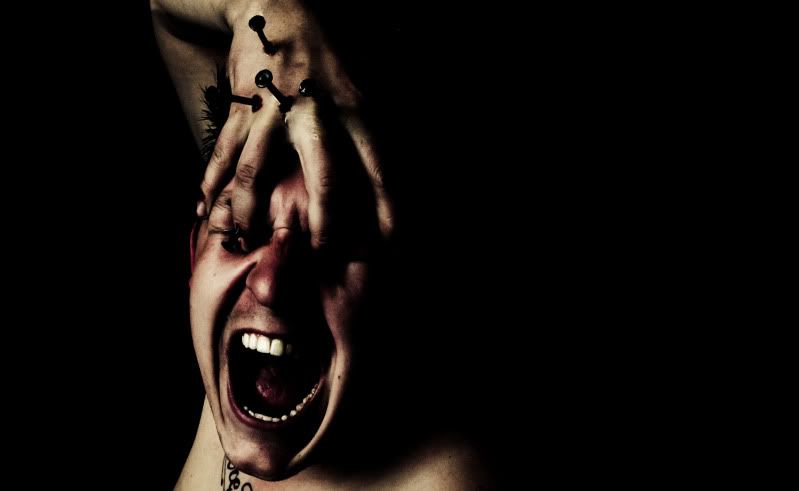
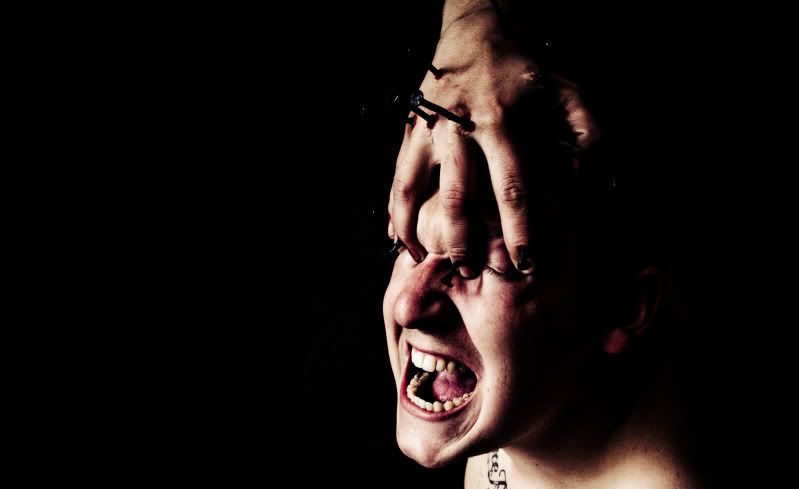
Hello everybody! OK this is the second instalment of my see, hear, speak no evil set. Let me know what you think, also I am struggling for ideas for hear no evil......any ideas?? I struggled to get the nails in without them blacking out feel free to have a pop at them if please!


SEE NO EVIL



DSC_5152.jpg


thanks for looking


DSC_5167.jpg


DSC_5180.jpg


DSC_5156.jpg


DSC_5174.jpg
 
the lighting is natural all from the spare bedroom window and the background is against a coco brown painted wall (my hi tech studio)
obviously heavy pp in these. the original pic is quite dark (intentional to get the black background after a few trys) dropped a lightroom pre-set i have saved and it makes it almost completely black. Then using the contrast and exposure pull the highlights out, tweaked a reddish tint to the skin, i like it on the skin it seems more damaged and scalded. i also do it right after work so my hands and face are still dirty think it adds to haggardness. im trying to get a sort of story with the set, on the last set i was pulling the stitches out at the end , so naturally towards the end im peeking trough " i was blind but now i see "
 
Good work!
I have to say, I prefer the ones that have more red tones in them ... There's more ... Erm ... Pain(??) In them

You should do the hear no evil, pick the best of each set and then repost a triptic of them!
 
As an alternative to this you could have a bit of hesian cloth torn with blood on pined over your eyes then have a nail in your eat for the hear no evil one ...
 
Great work again there Tom. I like the black space and PP you are using. If I had to choose then No 4 would be my favourite. In No 1 it almost looks like it is someone elses hand. That makes it more disturbing still. Really looking forward to seeing the complete series.
 
As you have PS CS5 now a useful way to take the background back to black without having under expose too much is to create a layer and use Levels to push the areas you want to black. Then use a layer mask the bring back what you want to see (you can alos do this with an adjustment layer 7 mask). Done carefully it can help whne you can't ensure a black background at capture.
 
Or just use the local adjustment brush an paint in the black

Just for laughs

[video=youtube;iUQkwg-X5bA]http://www.youtube.com/watch?v=iUQkwg-X5bA&feature=youtube_gdata_player[/video]

Send the final 3 to me and I'll make it for you in ps if you like
 
Aaaaaaaaaaahhhhhh!!!!! This is HENCH!!!!!!! great lighting!!
 
#4 is scaring the cr@p out of me - congrats!
 
great work Tom #4 &#5 are my favs looking forward to see where this is taking you
 
Back
Top